|
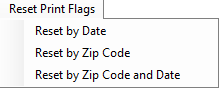
 Reset Print Flag Menu
These menu items are used to set flags to invoice records either by Date, by Zip Code, or Zip Code and date the are to be printed.
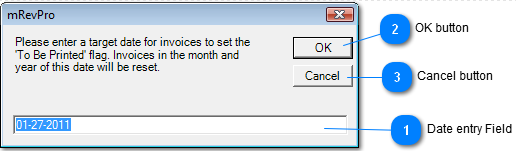
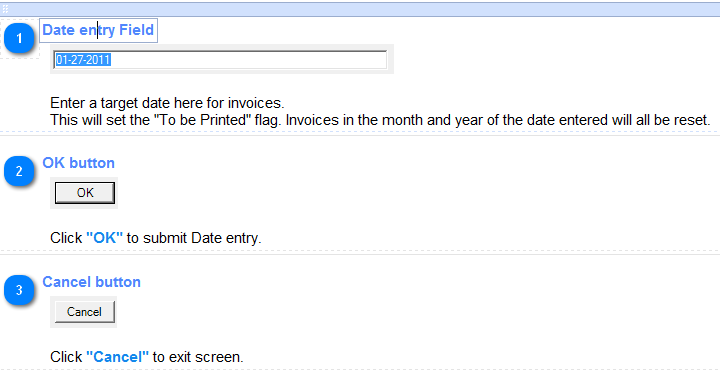
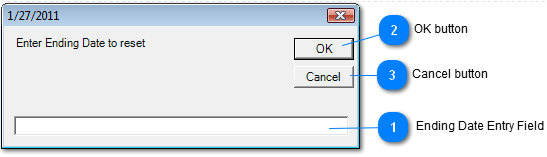
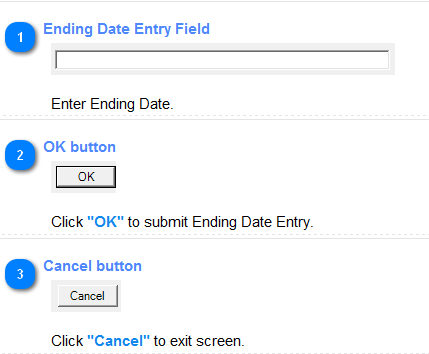
Reset by Date
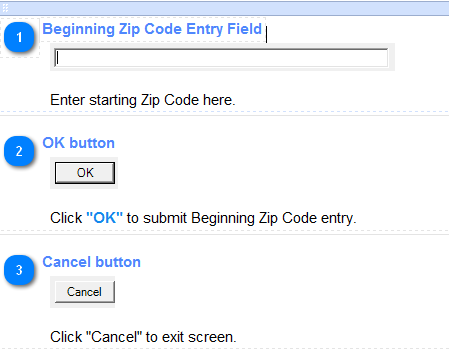
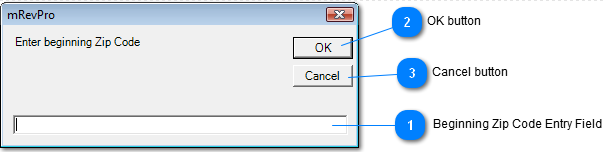
Reset by Zip Code
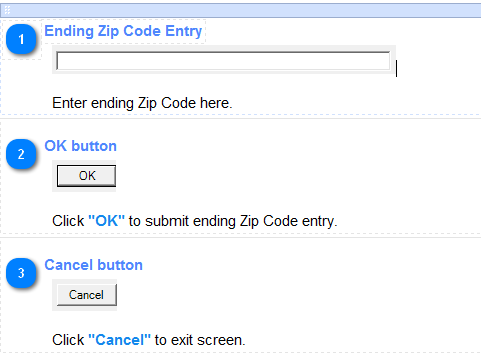
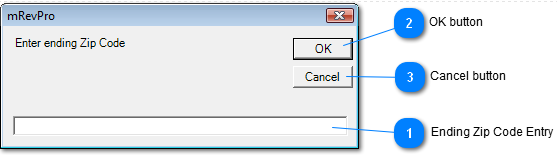
Enter Ending Zip Code to complete Zip Code process
Reset by Zip Code and Date
Enter Ending Zip Code to complete Zip Code process
Enter Date Beginning Date to continue process
Enter Ending Date to complete the Reset by Zip Code and Date process
| |
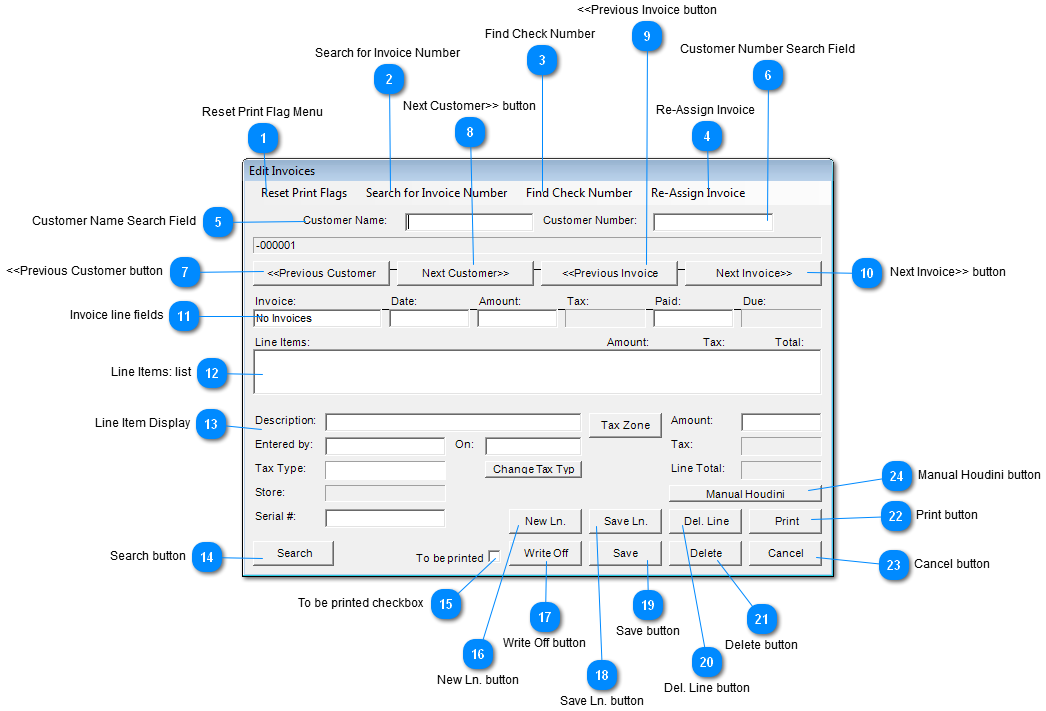
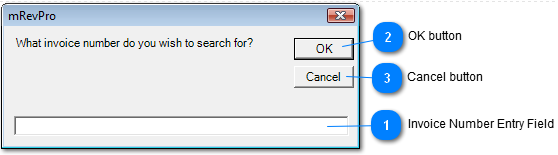
 Search for Invoice Number
Search by Invoice number.
| |
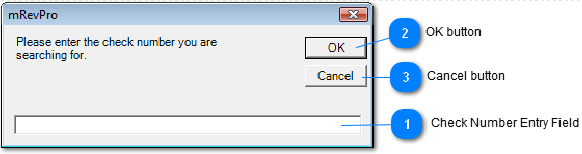
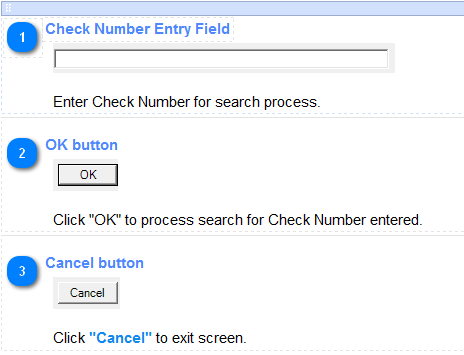
 Find Check Number
Search by Check Number.
| |
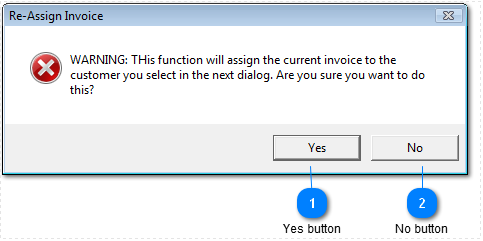
 Re-Assign Invoice
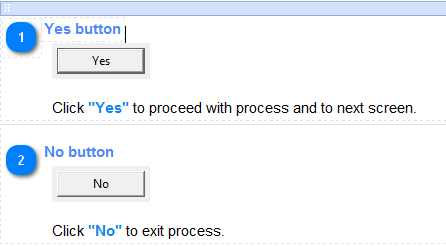
Selection will reassign an invoice to another customer.
Dialog message will appear to assure the process.
Next screen after responding "Yes" to previous Dialog.
| |
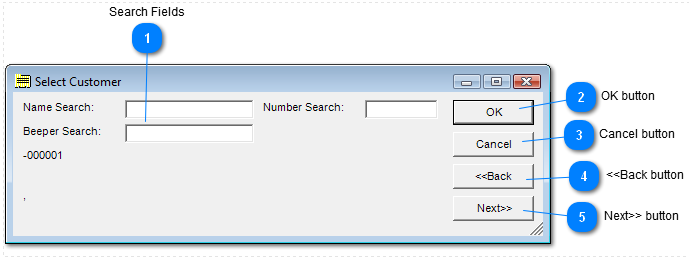
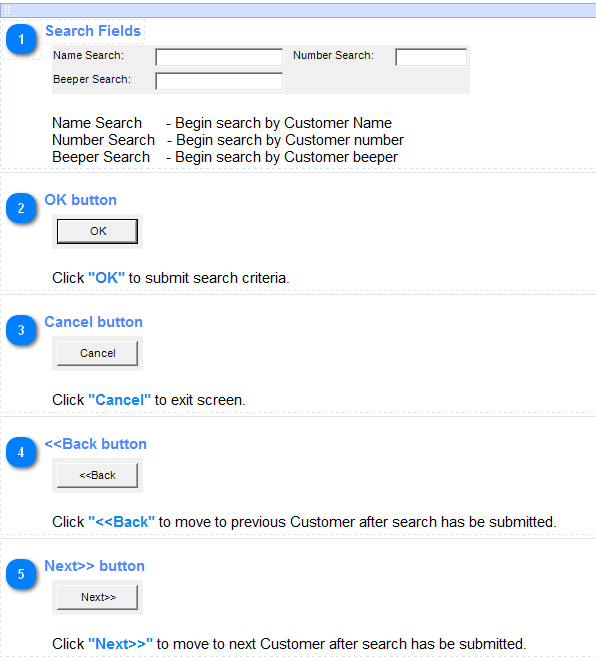
 Customer Name Search Field
Search by Customer Name.
| |
 Customer Number Search Field
Search by Customer Account Number.
| |
 <<Previous Customer button
Click "<<Previous Customer" to go to previous Customer record.
| |
 Next Customer>> button
Click "Next Customer>>" to go to next Customer record.
| |
 <<Previous Invoice button
Click "<<Previous Invoice" to go to previous Invoice record.
| |
 Next Invoice>> button
Click "Next Customer>>" to go to next Invoice record.
| |
 Invoice line fields
|
Invoice
|
Display Invoice Number
|
|
Date
|
Display Invoice date
|
|
Amount
|
Display Invoice amount
|
|
Tax
|
Display Invoice Tax amount
|
|
Paid
|
Display what was paid on Invoice
|
|
Due
|
Display what is due on Invoice
|
| |
 Line Items: list
Line item on Invoice.
| |
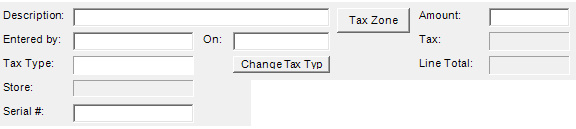
 Line Item Display
Line Item clicked on show be displayed here. These fields can be updated.
|
Description
|
Description of Line item
|
Edit Field
|
|
Tax Zone button
|
Select a Tax Zone from popup list
|
Button
|
|
Amount
|
Amount of the select Line Item
|
Edit Field
|
|
Entered by
|
Whom entered the Line Item
|
Edit Field
|
|
On
|
Date Line Item was entered.
|
Edit Field
|
|
Tax
|
Amount of Tax of Line Item
|
Edit Field
|
|
Tax Type
|
Tax Type of Line Item
|
|
|
Change Tax Typ button
|
Just click on button to change Tax Type
|
Button
|
|
Line Total
|
Total of Line Item, Price + Tax
|
|
|
Store
|
Store where invoice was created
|
|
|
Serial #
|
Serial number of product
|
Edit Field
| | |
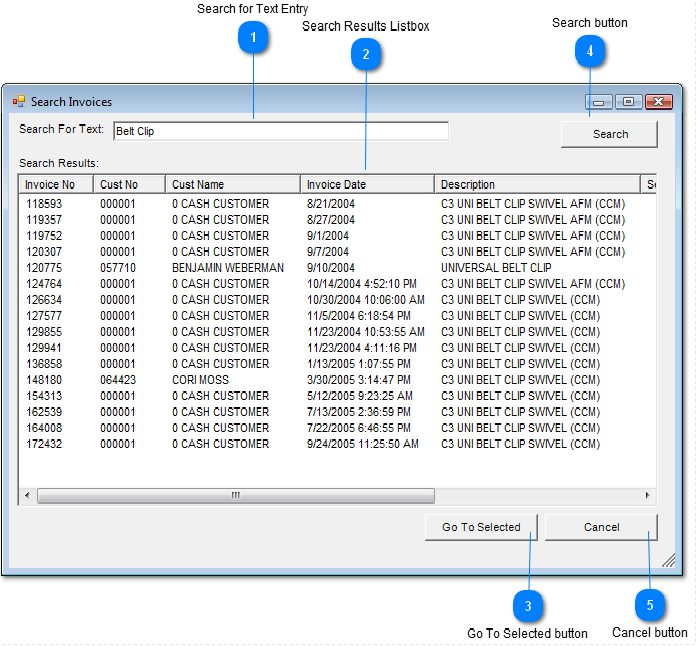
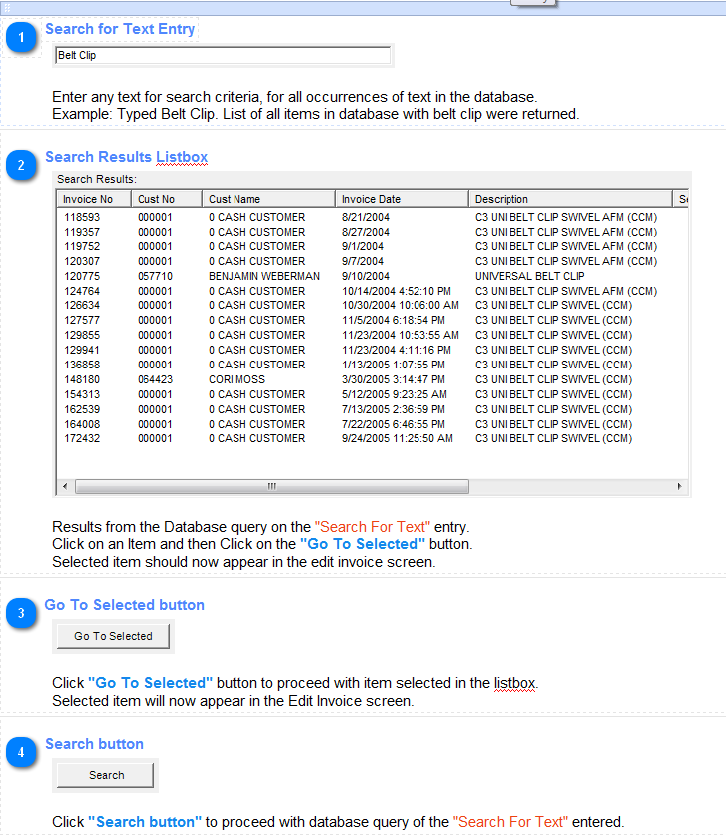
 Search button
Click "Search" button to proceed with a generic text search
| |
 To be printed checkbox
Check "To be printed" checkbox to print invoice information.
| |
 New Ln. button
Click "New Ln." button to create a new line on invoice.
Select the New Ln in the Line Items listbox and then edit fields in the Line Item Display
| |
 Write Off button
Click "Write Off" to add payment line describing invoice as written off.
| |
 Save Ln. button
Click "Save Ln." to save a new line or updated Line item.
| |
 Save button
Click "Save" to save entire invoice information.
| |
 Del. Line button
Click "Del. Line" button to remove a line item from invoice.
| |
 Delete button
Click "Delete" to remove invoice information.
| |
 Print button
Click "Print" to print invoice information.
| |
 Cancel button
Click "Cancel" to exit screen.
| |
 Manual Houdini button
Click "Manual Houdini" button if Houdini transaction fails but confirmation is successful.
| |
|
|