|
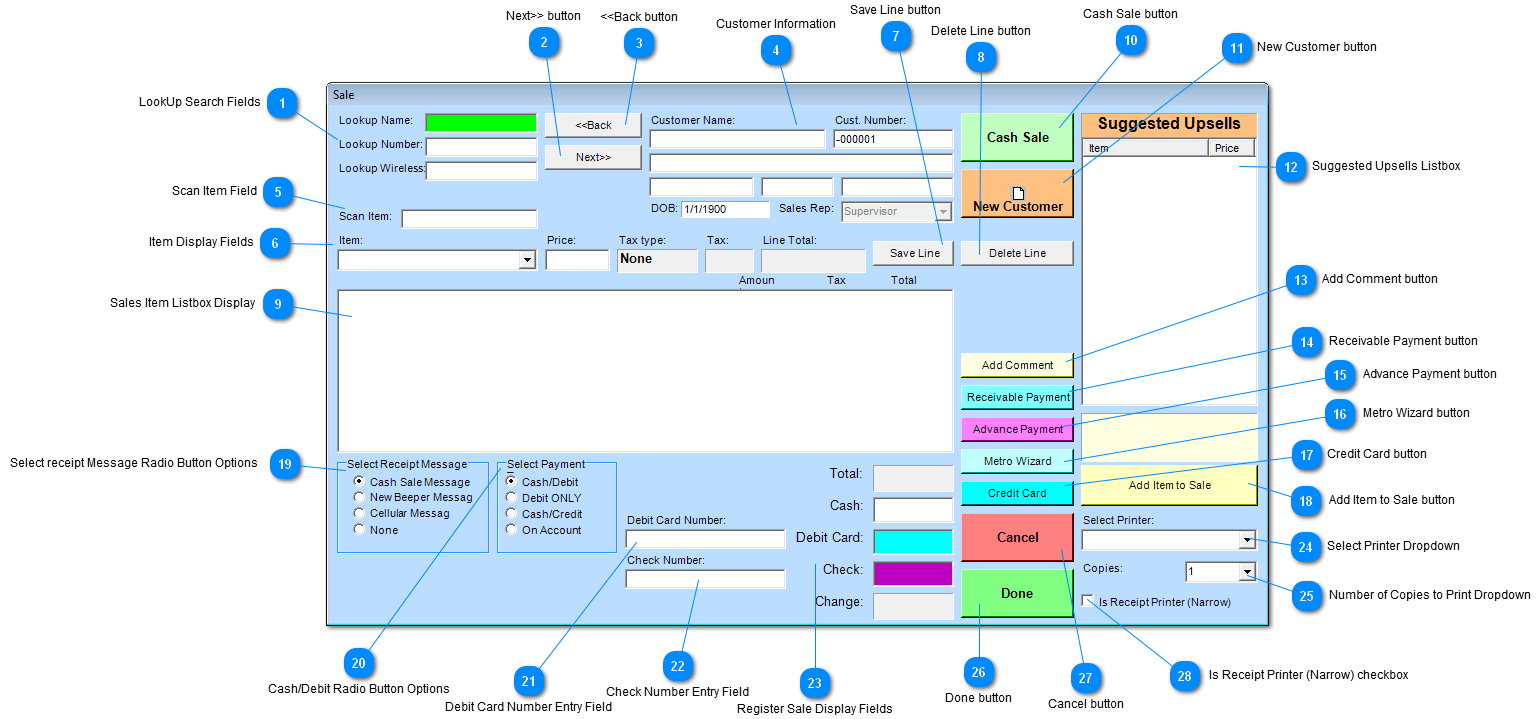
 LookUp Search Fields
or
or
| |
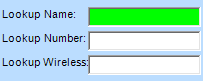
 Next>> button
After a search is done, user can click the "Next>>" button to see the next customer in the list.
| |
 <<Back button
After a search is done, user can click the "<<Back" button to see the previous customer in the list.
| |
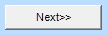
 Customer Information
Customer information will be displayed here.
-
Last Name, First Name
-
Number
-
Address
-
City
-
State
-
Zip Code
-
Date of Birth(DOB)
-
Sales Representative whom entered the information.
| |
 Scan Item Field
Scanned barcode information is placed here after item is scanned.
| |
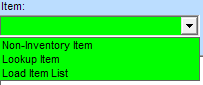
 Item Display Fields
Item
Item drop down to be scanned can be one of the following;
-
Non-Inventory item,
-
Lookup item,
-
Load item List.
Price
Item drop down to be scanned can be one of the following;
Tax Type
Display type of tax to be imposed on the sale item.
Tax
Tax amount will be displayed for item.
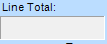
Line Total
Line total is price + tax(if any) for item selected.
| |
 Save Line button
Click "Save Line" button to save the Item below in the listbox.
| |
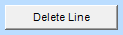
 Delete Line button
Click "Delete Line" button to remove an Item from the the listbox.
| |
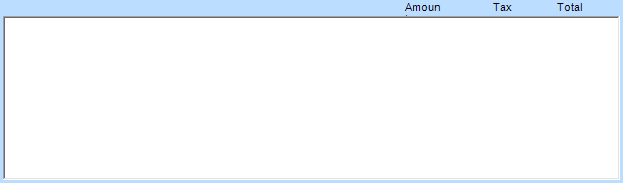
 Sales Item Listbox Display
List of items sold are added here to the Sales listbox. By use of the Save and Delete buttons items can be removed or added to the the Sales Listbox.
| |
 Cash Sale button
Click on the "Cash Sale" for a cash only sale.
| |
 New Customer button
| |
 Suggested Upsells Listbox
ListBox to show all up sale items added to current sale.
| |
 Add Comment button
Click on the "Add Comment" button to add comments / remarks to customer information. | |
 Receivable Payment button
Click "Receivable Payment" button to make a payments towards a Customers account receivable transaction. This will will posted toward the customer's invoice.
| |
 Advance Payment button
Click "Advance Payment" button when customer makes a payment ahead of it's normal schedule, such as paying for a good or service before you actually receive the good or service.
| |
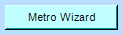
 Metro Wizard button
Click "Metro Wizard" to go directly to the Metro Wizard Screen for the following;
-
Activate New Account
-
Reactivation
-
ESN Change
-
Activate Houdini
| |
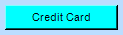
 Credit Card button
Click "Credit Card" button if transaction is being made with a Credit card.
| |
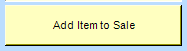
 Add Item to Sale button
Click "Add Item to Sale" to add another item to the sale in the Sale Listbox.
| |
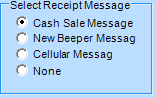
 Select receipt Message Radio Button Options
Check Radio button which best corresponds to the Receipt Message desired.
Selections:
|
Cash Sale Message
|
|
|
New Beeper Message
|
|
|
Cellular Message
|
|
|
None
|
No message is displayed on receipt
|
| |
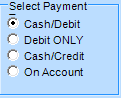
 Cash/Debit Radio Button Options
Check Radio button which best corresponds to the current sale.
Selections:
|
Cash / Debit
|
Cash or cash from debit card sale.
|
|
Debit ONLY
|
Debit sale only.
|
|
Cash / Credit
|
Cash and Credit card sale.
|
|
On Account
|
Sale is on an account.
|
| |
 Debit Card Number Entry Field
Enter the Customer's Debit card number.
| |
 Check Number Entry Field
Enter the Customer's check number.
| |
 Register Sale Display Fields
|
Total
|
Displays sales total of all items show in Sales listbox
|
|
Cash
|
Cash payment enter the cash given on hand
|
|
Debit Card
|
Debit card payment, amount for debit card is enter
|
|
Check
|
Check payment enter amount of check written
|
|
Change
|
Displays change amount to be given to customer
|
| |
 Select Printer Dropdown
Enter printer or select a printer from the dropdown list by clicking on the down arrow.
| |
 Number of Copies to Print Dropdown
Enter number of copies or use dropdown to select numbers of copies to be printed by clicking on the down arrow.
| |
 Done button
Click "Done" button when transaction is completed.
| |
 Cancel button
Click "Cancel" button to Exit the screen without saving the last transaction.
| |
 Is Receipt Printer (Narrow) checkbox
Check "Is Receipt Printer (Narrow)" checkbox if printing from a narrow Receipt Printer.
| |
|
|